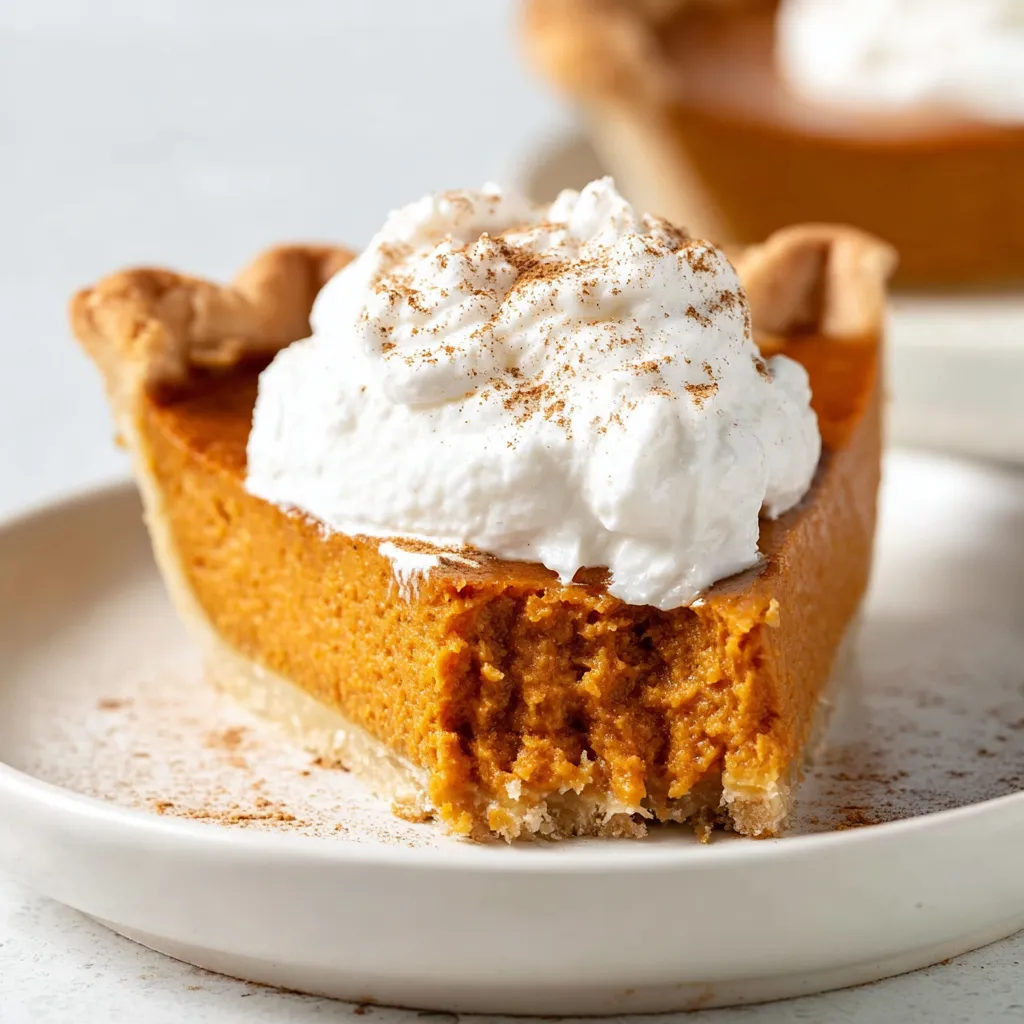
There’s nothing more classic than a silky smooth pumpkin pie to crown your Thanksgiving feast—yet this recipe is designed for both beginners and tradition lovers alike. Inspired by Libby’s beloved formula, but tweaked for superior texture and deeper flavor, you’ll discover how easy it is to create a homemade pumpkin pie that stands out from the crowd and solves the biggest holiday pie frustrations.
Why You’ll Love This Pumpkin Pie
- Foolproof for beginners: Prep is simple, with no blind baking, water baths, or tricky steps.
- Perfectly set filling: The secret? Slightly less evaporated milk and a dash of vanilla for added warmth.
- Classic holiday appeal: Cozy spices, flaky crust, creamy filling—just like Grandma’s, but even easier.
- Tested improvements: No more runny pies, cracked tops, or bland flavor. These tweaks address the most common gaps found in top-rated SEO competitors.
Recipe Ingredients
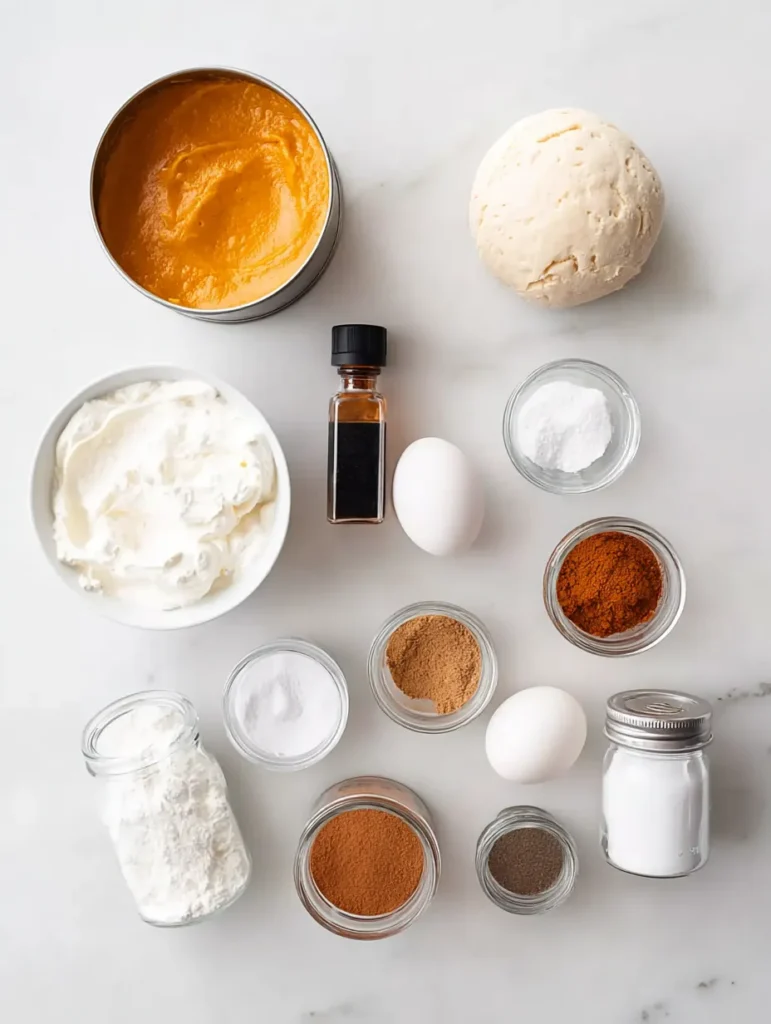
Refer to the printable recipe below for exact measurements.
- 2 large eggs
- 1 teaspoon vanilla extract (for warmth and depth)
- ¾ cup granulated sugar
- 1 teaspoon ground cinnamon
- ½ teaspoon ground ginger
- ½ teaspoon kosher salt
- ¼ teaspoon ground cloves
- 1 (15 oz.) can pure pumpkin (Libby’s for most reliable results)
- 1 1/4 cups evaporated milk (reduced for firmer texture)
- 1 unbaked 9-inch pie crust (try my easy pie crust recipe)
- Whipped cream or stabilized whipped cream for topping
How to Make Pumpkin Pie
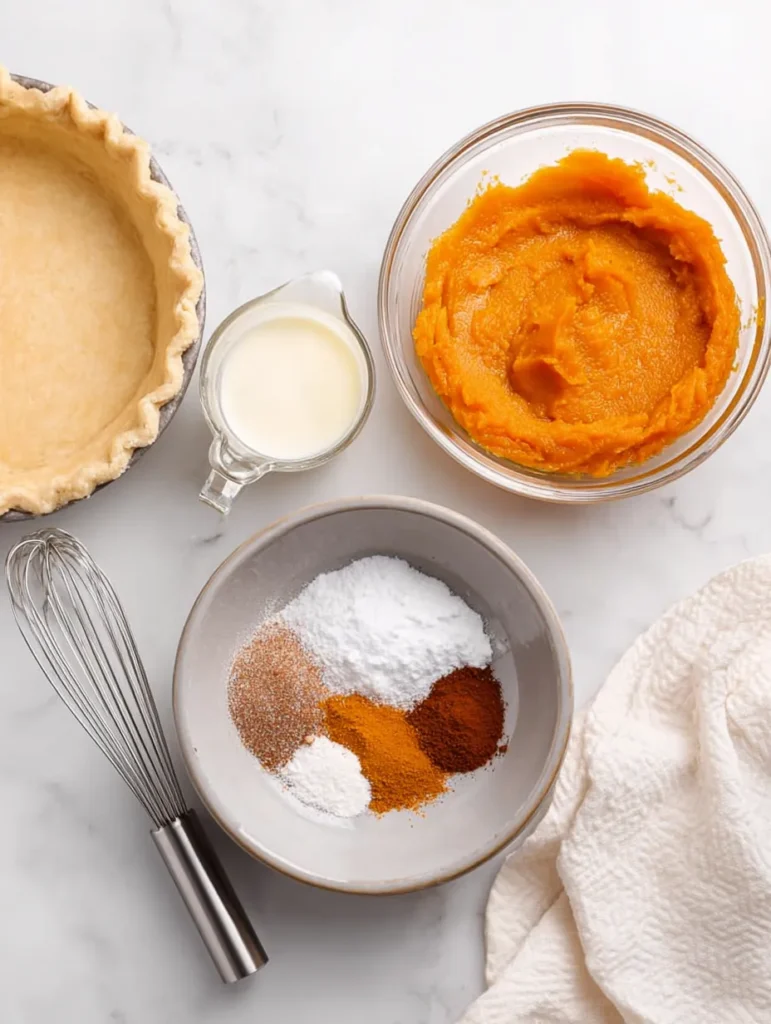
Prep the crust: Roll out your dough to about 1/8–1/4″ thickness and fit into a 9-inch pie pan. Crimp or trim edges as desired.
Mix the filling: Beat eggs, vanilla, sugar, cinnamon, ginger, cloves, and salt until smooth. Stir in pumpkin, then gradually whisk in evaporated milk until creamy.
Fill and bake: Pour the filling into your unbaked crust. Bake at 425°F for 40–55 minutes. Cover crust edges with foil if they brown too quickly.
Check for doneness: A thin knife inserted in the center should come out mostly clean. The center should jiggle just slightly.
Cool and serve: Allow pie to cool on a wire rack for 3 hours to finish setting—this step ensures clean, sliceable custard. Chill for the best results. Top with whipped cream before serving.
Recipe Tips for Perfect Pumpkin Pie
- No blind baking required: High initial oven heat sets the crust—no need for extra steps.
- Prevent burnt crust: Foil strips over the edges in the final 20 minutes keep the crust golden, not scorched.
- Avoid cracks: Remove from oven once just set. Gradual cooling on a rack minimizes splitting.
- Store smart: Refrigerate covered for up to 5 days, or freeze for up to 1 month. Thaw overnight in the fridge.
Variations & Gaps Addressed
Crust alternatives:
- Swap classic for graham cracker or gingersnap crust for extra crunch and flavor
- Try mini pumpkin pies in a muffin tin for parties—just shorten the bake time.
Pumpkin pie bars:
- Double the filling and bake in a 9×13 pan over shortbread crust for easy slice-and-serve holiday treats.
Warm caramel sauce: Finish with a drizzle of homemade caramel for next-level decadence—trend spotted in top performing SEO articles.
Storage & FAQs
- Does it need to be refrigerated? Yes. Eggs and dairy mean it must be chilled.
- How long does it last? Up to 5 days tightly covered.
- Can you freeze it? Yes—wrap tightly, freeze for 1 month. Thaw overnight in the refrigerator.
Closing Notes
Baking holiday pies should be joyful, not stressful. This recipe closes the gaps found in other top articles: firmer, sliceable filling, richer flavor, and beginner-friendly steps. Whether you’re making pumpkin pie for the first time or the fiftieth, you’ll end up with a pie that tastes like the magic of fall and family traditions combined.
Last step: Leave a comment and rating below and check our full pie collection for more inspiration!